Good driveway lighting does three jobs: it shows you where the edges are, it picks out anything you could trip on or clip with a tyre, and it lets you see who’s walking up to the house. Solar bollards can handle the first job on their own. The other two usually need low-voltage or mains lights, and the right mix depends on how much sun your driveway gets and whether you’re happy to run cable.
Kerb appeal comes as a side effect. A driveway that’s lit to be safe almost always looks better from the street than one lit to look good.
Solar, low-voltage or mains: which suits your driveway?
Each type has a place, and plenty of Melbourne homes end up using two of them.
Solar bollards and path lights
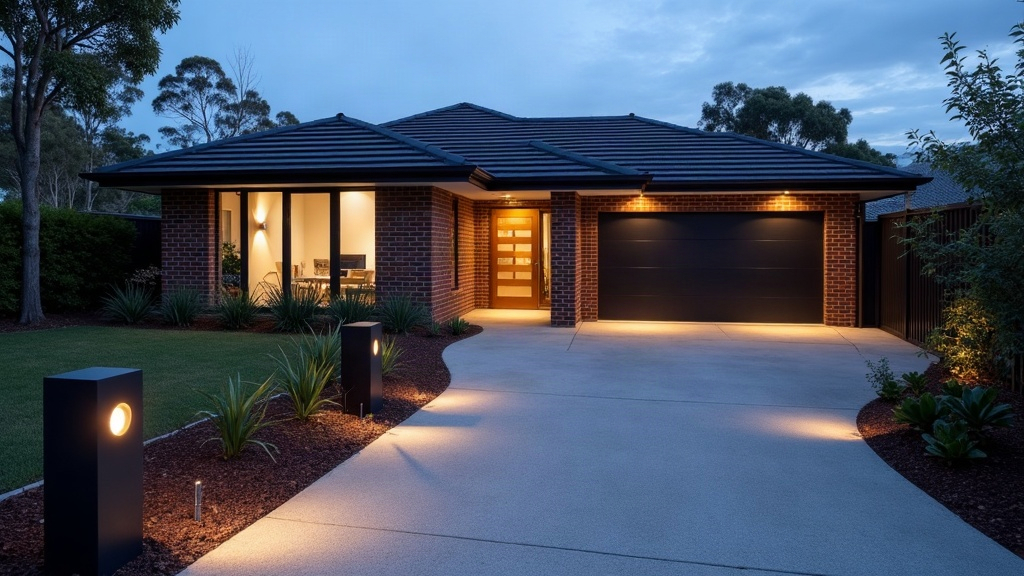
No cable, no trench, no electrician. You push them into a garden bed along the driveway edge and they come on at dusk. The catch: they only give back what the panel collected that day. A Melbourne June gives you short days and a lot of grey sky, so a solar light that glows happily until midnight in January can be flat by eight in winter.
Treat solar as edge marking. They’re good at showing where the concrete stops and the garden starts. They’re not bright enough to light a path for walking or to show you a face at the door.
Low-voltage (12 volt) systems
A transformer plugs into an outdoor power point and feeds a run of small fittings through a thin cable laid just below the mulch or soil. You get steady light whatever the weather. You do need a weatherproof power point near the start of the run. If there isn’t one, adding it is electrical installation work, and that means a licensed electrician.
Mains-powered (240 volt) lights
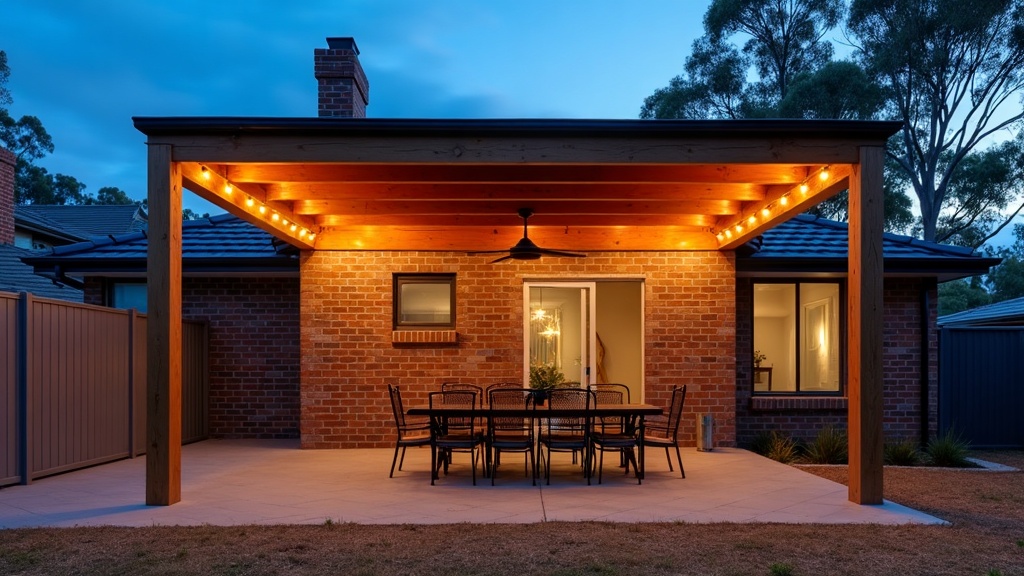
Wall lights on the carport or garage, sensor floodlights and solid hardwired bollards all run off mains power. They’re the brightest and most reliable option. Energy Safe Victoria is blunt about who does this work: doing unqualified electrical work is illegal as well as dangerous, so hire a licensed electrician. Once they’ve finished, you should get a Certificate of Electrical Safety. For non-prescribed work such as installing lights, Energy Safe Victoria says that should arrive within 30 days.
Where should the lights actually go?
Start with the spots where people and cars get into trouble, not with an even row down both sides. A runway of identical bollards looks like a car park and still leaves the awkward bits in shadow. Light these first:
- The crossover: one light either side where the driveway meets the footpath, so you can line the car up coming in off the street and see pedestrians backing out.
- Grade changes and steps: anywhere the surface drops, rises or meets a step. On a sloped driveway, the transition at the top and bottom is where feet slip and bumpers scrape.
- Bends and pinch points: a curve, a gatepost or a letterbox close to the wheel line.
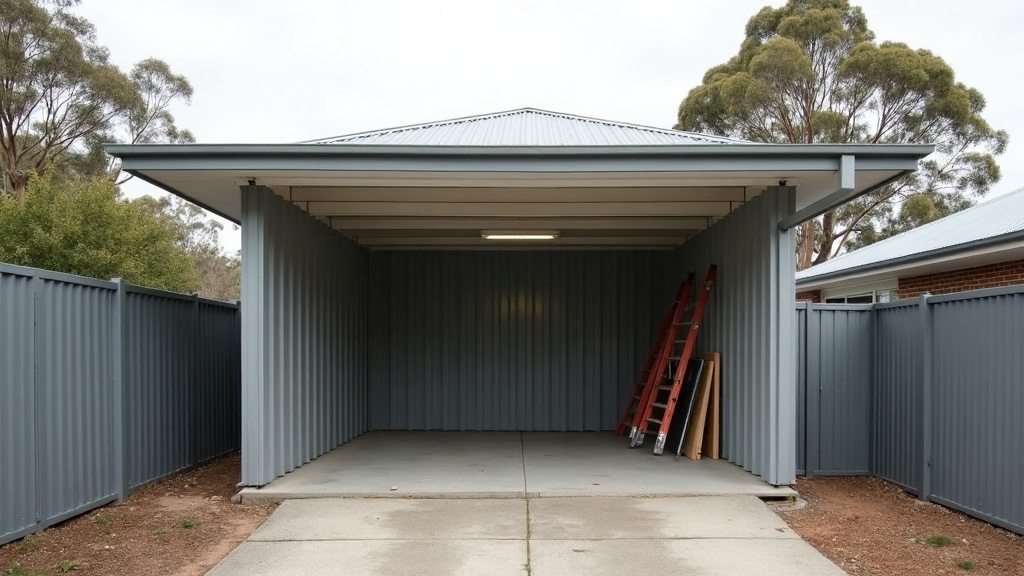
- The carport or garage entry: a sensor light over the opening, angled down onto the slab, so you’re not fumbling for keys in the dark.
- The path from car to front door: often forgotten, and it’s the bit you walk with your hands full.
Space low fittings so the pools of light on the ground just about meet. Then stagger them from side to side rather than lining them up in pairs.
Keeping the light off the neighbours
A floodlight aimed across the street or into the house next door is a quick way to fall out with the neighbours. Australia has a standard for exactly this problem: AS/NZS 4282:2023, Control of the obtrusive effects of outdoor lighting, published by Standards Australia. It deals with light spilling onto nearby homes and dazzling people on the road. Its thinking is worth borrowing for a driveway:
- Aim down: pick fittings with a hood or shield so the light falls on the ground, not out sideways.
- Go warm: warm white fittings, around 3000K on the box, sit better on a house front than cold blue-white.
- Use sensors for the bright stuff: a floodlight that switches on when someone moves is fairer on the neighbours than one that burns all night.
Lighting a new driveway versus an existing one
If the driveway hasn’t been poured yet, this is the cheap moment. Get conduit laid under the slab or paver bed to wherever bollards might go, even if you don’t buy the lights for a year or two. Pulling cable through a pipe later is a short job. Cutting a slot through finished concrete is not. Our guide to driveway materials covers the surfaces you’d be working around.
On an existing driveway, the garden bed along the edge is your friend. Low-voltage cable and bollard footings can go in the soil beside the concrete without touching it. If you’re adding a carport or garage at the same time, plan the outdoor lights with the structure’s own wiring. We cover that in power, lighting and EV charging in a garage.
Getting solar bollards through a Melbourne winter
If you do go solar, a few habits make a real difference by June:
- Face the panel north: and keep it clear of the carport roof’s shadow, the fence line and overhanging trees.
- Keep the panels clean: leaf litter and dust on a small panel cut its charge noticeably.
- Buy replaceable batteries: the cheap sealed ones fade after a couple of seasons and the whole light ends up in the bin.
One last tip before you spend anything. Go out on a dark night, park the car where you normally do and walk the whole route with a torch. Wherever you pointed the torch without thinking is where a light belongs. For how lighting fits alongside the rest of the front of the house, see our guide to outdoor structures and driveways in Melbourne.