If your Melbourne garage is damp in winter, stinking hot in February and smells faintly of a wet dog that has never lived there, the fix is not stuffing batts into the walls. Deal with the water first, insulate the roof second, line the walls last. Get that order wrong and you seal moisture into a cavity you cannot see, and the first sign of trouble is a musty smell or a rusty stud track a year later.
A sweating garage is not always a leaking garage
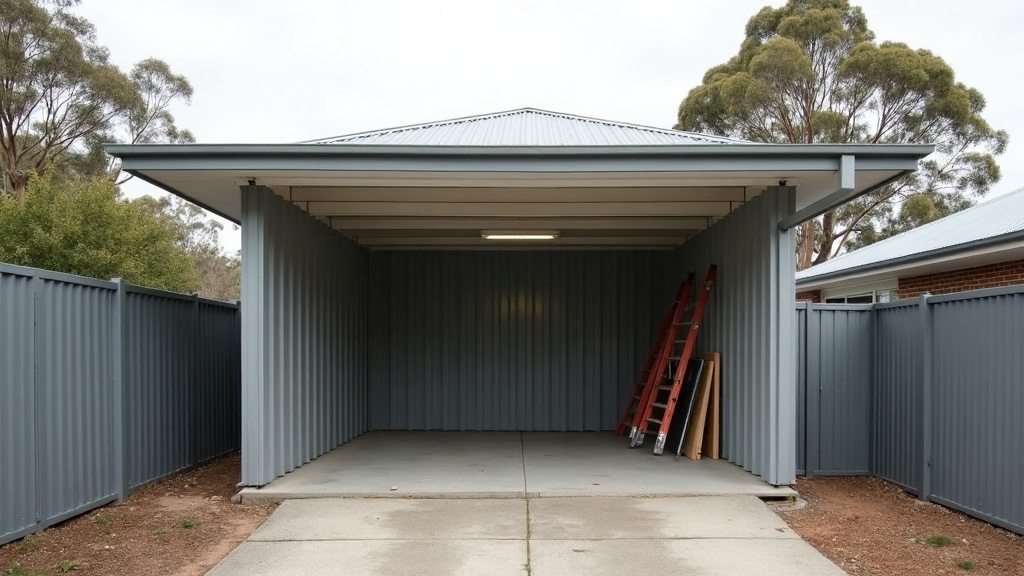
Condensation and a leak look identical on the floor, but they are not the same problem. A leak comes in from outside. Condensation is warm, moist air touching a surface colder than its dew point, and a single skin steel garage does that beautifully.
The typical Melbourne version goes like this. The roof sheets go cold overnight. Inside, the air is holding moisture from a car that came home in the rain, a laundry tub, damp firewood, or just a humid northerly ahead of a cool change. By six in the morning there is water beading under the roof and dripping onto the bonnet. Nothing is leaking. The building is doing what physics says it should.
The slab plays a part too. An older slab poured without a working vapour barrier under it wicks ground moisture up through the concrete. Cover it with rubber matting or stacked boxes and that moisture goes sideways into whatever you have leaned against the wall.
Fix the water before you spend a dollar on insulation
Insulating a garage that already has a moisture source is how you turn a nuisance into rot. Walk the building first and rule out the obvious:
- Roof and flashings: check the ridge, the barge and anywhere the roof ties into the house, because that junction is where most genuine leaks live.
- Ground levels: soil or paving built up above the slab edge pushes water in every time it rains hard.
- Stormwater: a downpipe discharging beside the slab instead of into a drain keeps that corner permanently wet.
- The door seal: a perished bottom seal on a roller or sectional door lets wind driven rain track straight in.
- Stored damp goods: firewood, wet camping gear and a chest freezer all add moisture to a sealed room.
Sort those out and reassess. Plenty of garages booked in for a full insulation job only needed a downpipe extension and a new door seal.
Insulate the roof first, walls second
If you only do one thing, do the roof. That is where the temperature swing is worst, it is the surface condensation forms on first, and there is usually no lining to strip.
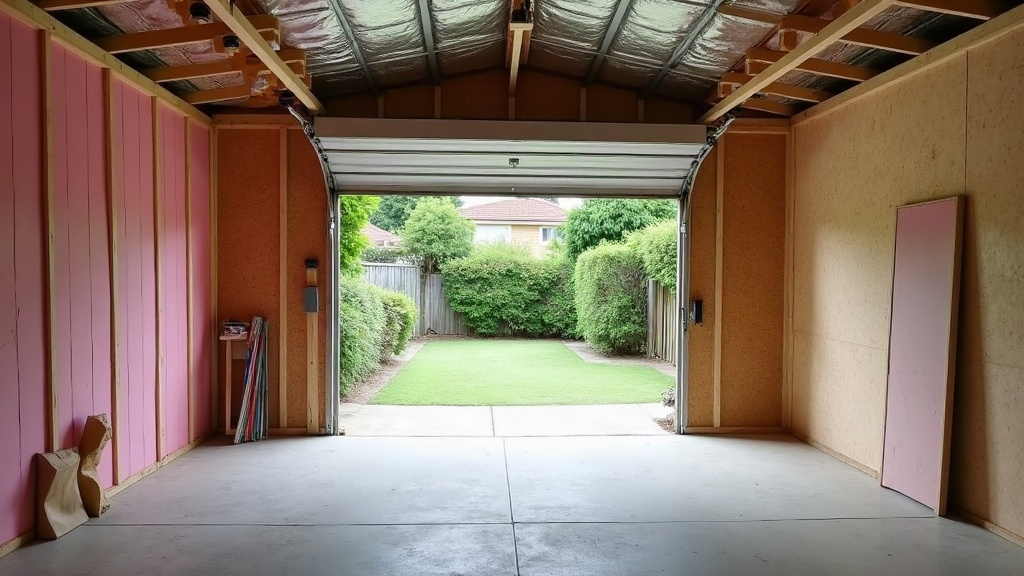
For a steel roof, the standard approach is a foil faced blanket laid over the purlins before the sheets go on. You cannot do that on an existing roof without lifting sheets, so the retrofit is insulation between or under the rafters with an air gap above it, or rigid board fixed underneath. The critical bit is that you are not just adding R value, you are keeping warm inside air away from cold steel.
Walls come next. In a stud framed garage, batts sized to the frame do the job, and the batts that fit a standard 90mm stud generally sit around R2.0 to R2.7 in the products commonly sold here. Push them in fully, no gaps at the top plate, and do not compress them. A squashed batt is a worse batt.
Choosing a lining
What you fix to the frame depends on what the garage is actually used for:
- Plasterboard: cheapest and neatest, fine for a store room or home gym, but it hates knocks and it hates getting wet.
- Structural plywood: takes a bump and takes a shelf bracket anywhere, so it suits a workshop.
- Fibre cement sheet: the sensible pick for a wall that will cop splashes, near a laundry tub or wash down bay.
- Steel liner sheet: easy to hose off and durable, but it is another cold surface, so it needs insulation behind it or you have solved nothing.
Whatever you choose, hold the bottom edge ten or fifteen millimetres off the slab. Lining that sits hard on concrete acts like a wick and draws slab moisture straight into the sheet.
Ventilation is the part people skip
A lined, insulated, well sealed garage with no ventilation is a moisture trap, because you have removed the draughts that carried damp air away. At minimum you want cross flow: a vent low on one wall and another high on the opposite wall, so air actually moves. Whirlybirds help a roof space, and an extraction fan earns its keep if you regularly park a wet car inside and shut the door on it.
Know where the job stops being a DIY job
Two lines are worth knowing. Any new wiring, power points or lighting is licensed electrical work in Victoria, and Energy Safe Victoria is the regulator to check against, not a mate with a drill. Second, lining a garage is one thing, but turning it into a habitable room is a change of use, and whether that needs a building permit is a question for your council or a registered building surveyor. If a conversion is where this is heading, work through garage conversion versus a new build first, because the spec for a habitable room is a different conversation.
The order I would do it in
- Find and fix every water entry point, then wait and watch.
- Sort drainage and ground levels around the slab.
- Insulate the roof, keeping an air gap where the design needs one.
- Rough in any power and lighting while the frame is still open.
- Insulate the walls, then vent the space properly.
- Line it, holding the sheets clear of the slab.
Do it in that order and the garage is usable all year. Do it backwards and you will be pulling sheets off in two years to find out what the smell is.